Showing posts with label mirror. Show all posts

Saturday, 17 February 2018

3D Solar System Mirror

Hi Folks,

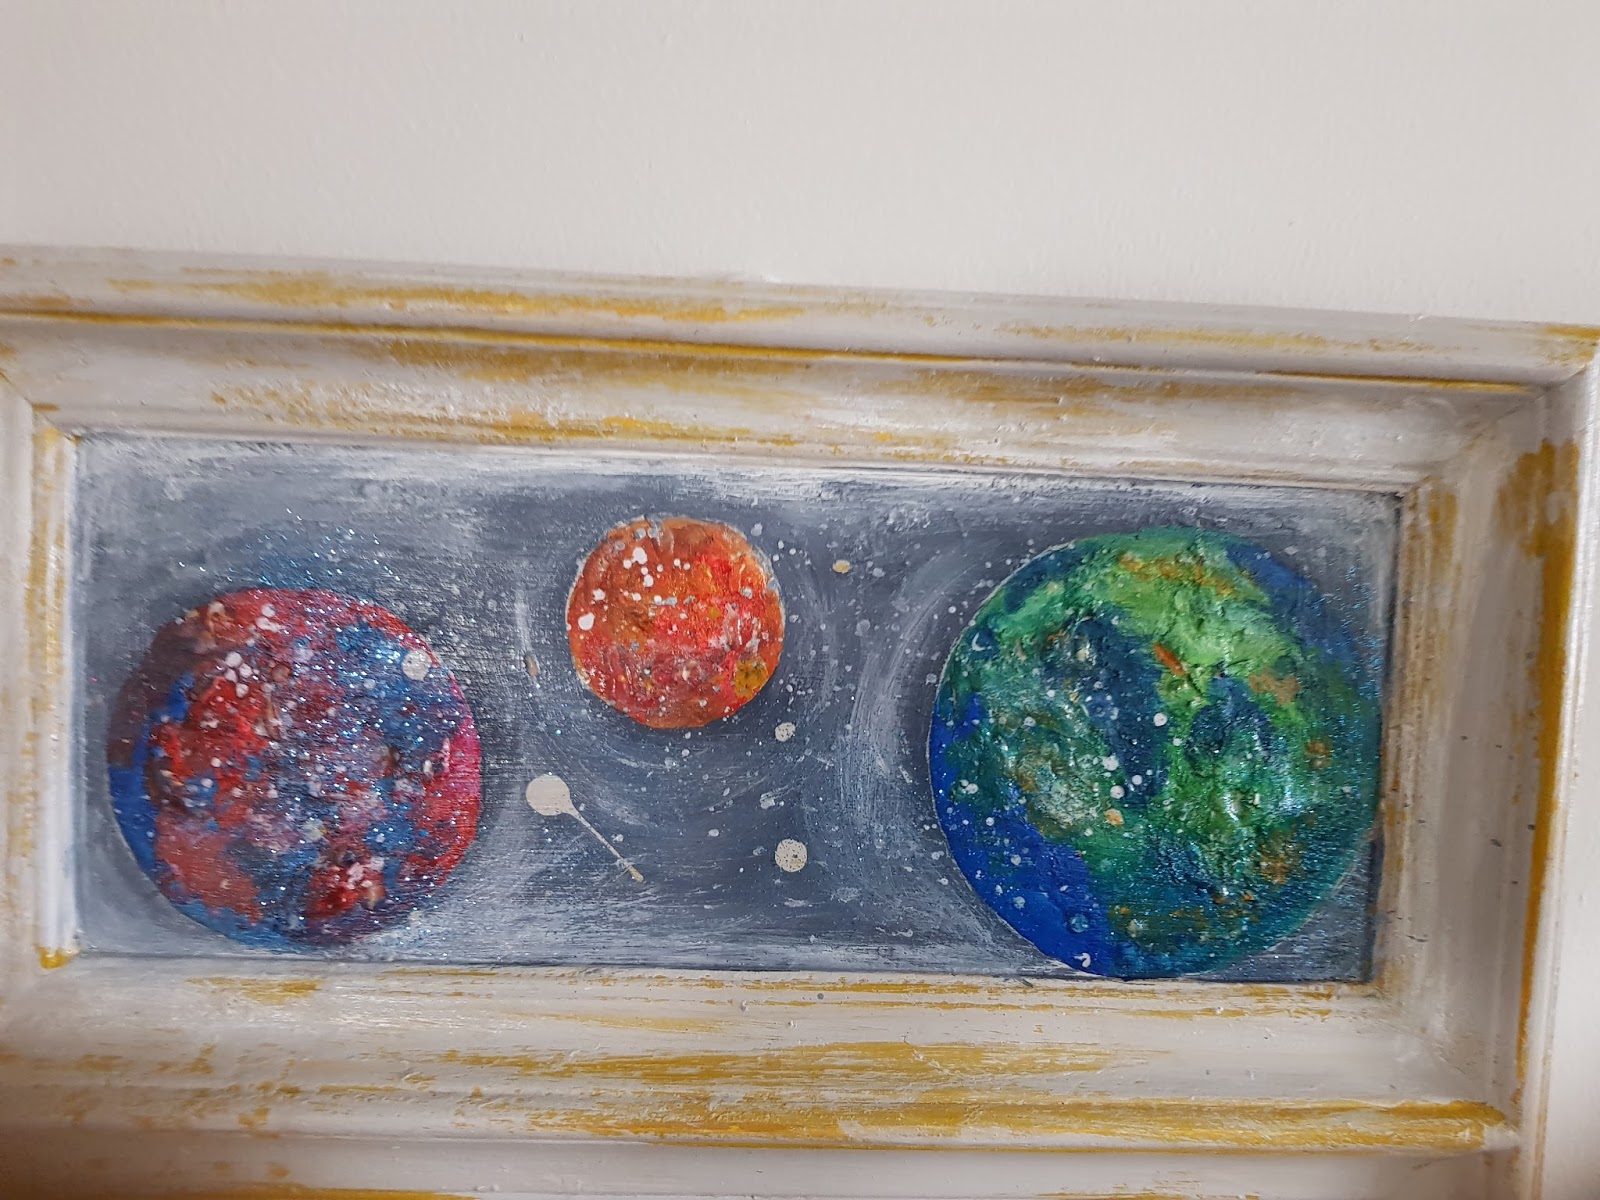
Today I'm sharing a recent project that I did upstyling an old bathroom mirror for my son's bedroom.  The theme he asked me for was the Solar System - he wanted planets.

As you can see from the photos there is a panel at the top of the mirror which was the perfect place to add something interesting.


I painted on three circles using a cup, a glass, and a small bowl.  Next I used some modelling clay to add texture to the planets.  I glued it down with some general craft glue and smoothed out some parts that were too prominent.  I then used some wood glue to create splashes over the entire area and left to dry.

Next I painted the planets mixing various colours.  Green and blue (earth)  red and blue, and red and yellow (orange).  I painted the background using medium grey and white acrylic paint and I splattered on white for effect and added glitter.  When dry I removed the splashes of wood glue which created a star-like effect.  I then sealed with a coat of varnish.


Give it a go!

Bye for now


Sunday, 19 November 2017

Transformation - Photo Frame to Vintage Mirror

Hello again Funky-Junkers,
Today I'm going to show you how I converted a wooden photo frame into a vintage style mirror and you won't believe how easy it is to do this!  Here's some pics of my finished mirror...click to enlargen and you can find my tutorial by scrolling down.

Vintage Style Bird Mirror 1
Vintage Style Bird Mirror 2


Vintage Style Bird Mirror 3
Vintage Style Bird Mirror 4
 
Vintage Style Bird Mirror 5
Before and After

I bought the frame on sale for €2.95 which made this project even more wonderful.  You can use a picture frame if you wish, you just need a frame that has glass as that;s what you're going to transform into the mirror.  For this project you will need the following items:

The frame (including the glass)
Mirror Effect Spray (I used gold)
A vintage style stencil
Chalk paint in two colours (I used Ochre and Cream)
Black or Charcoal acrylic paint
Rust acrylic paint
Mouldings or paper/card/wood appliqués
Dark patina
Crackle medium
Vinegar/Water mix 50/50
Spray bottle

First, I painted the frame using the Ochre chalk paint and when it was fully dry, I added a coat of one step crackle (Daily Arts). This has to be left to dry before the second coat of paint is applied (I used cream).  Take note that when you are painting this coat on you cannot paint over the same spot twice so make sure you load the brush well with the chalk paint.  This is so that the crackle takes effect properly and you can see the cracks which will start to appear as the paint dries.

Next, I worked on making the glass a mirror.  To do this, you first need to lay your glass flat, face down and place the stencil (I used a reverse stencil) where you want it.  This can be a bit messy so make sure you have some plastic or newspaper  protecting the surface you are working on.

Using the 50/50 vinegar/water mix, spray the back of the glass where ever you want the antiqued /corroded mirror look to be - in my case I mostly sprayed around the edges of the glass.  Using the mirror effect spray in a colour of your choice (usually gold or silver), spray all over the back of the glass.  You will soon see the reaction of the vinegar/water in the areas that you sprayed it.  After a few minutes most of the mirror effect spray will be dry with the exception of the areas that the vinegar was used.  Using some kitchen roll gently dab these areas to take off the excess.  This helps to create the corroded look that you're after.  Remove the stencil and leave aside to dry fully.

While the mirror is drying, paint the inside of the back cover of the picture frame using a dark coloured paint, I used a charcoal colour acrylic.  By the time you have done this, the glass will be dry and you now need to add your appliques.  I used a cardboard kind which I painted in Ochre and then dry-brushed lightly with a rust coloured acrylic paint to give an aged look.  I then tore these into odd sized lengths and stuck them here and there around the inside edge of the frame to give the impression of a broken trim to add to the overall vintage mirror look.

I used dark patina to darken the frame and enhance the cracks, concentrating more on the outside edge and adding the final touch to my antique style mirror.

I was so happy with the result that I went back to the shop and bought another two frames for €2.95 each!  Needless to say I will be doing this again.

I hope you enjoyed this tutorial, please contact me if you have any questions as I would be happy to help with any issues you may have with your project.
Bye for now



Friday, 6 February 2015

Mirror - Old Pine to Vintage Chic

It's a great feeling when you've put your heart into something and you finally see the end result and you're smiling.  After a week of working every night on the old pine mirror that I painted recently and spoke about in my last post, it's finally finished and looks great.  Some slight distressing was done first to create an 'old' look and then I découpaged it using a variety of vintage style materials which I overlapped in some places.  After sealing and sanding several times (that's the boring part) I then used a wax for the final finishing.  I'm super happy with it and hope you like it although I don't think the photos do it justice - it's not easy to photograph a mirror!  Don't forget to leave a comment here or on my Facebook page as I'm always interested to hear what you think.  Thanks for coming by.


Monday, 2 February 2015

Old Pine Mirror


I've had this basic old pine mirror for years, it usually hangs in the hall over my washstand table which is also pine and made from reclaimed wood.  There's nothing to the mirror, it just has a simple frame so I thought it was time to funk it up......some chalk paint and perhaps a little découpage will do the trick to make it unusual and unique.  Here it is with step one completed...


Come back soon to see what I do next.

Sunday, 11 May 2014

Red Mirror - Painted & Distressed

A quick and easy job to this old mirror gave it a new look and saved me a few dollars on buying a new one.  It looks great in my little boy's room against a navy wall.

I used red chalk paint that I made myself and then distressed and waxed it for the finish you see below.  I have posted the 'before' picture below for anyone who missed my previous post.


Thanks for looking, make sure to drop back soon for my next project.

Thursday, 8 May 2014

Red Mirror

I always like a little change in between finishing one piece of furniture and moving on to the next and since I've just finished the Chest of Drawers I'm going to do just that.

I love working on small projects too and have plenty to choose from (there's a queue of stuff in my work area).  Right now though, I'm in need of a red mirror for my son's bedroom and can't find one in the shops that doesn't cost a week's wages so this little baby is my next victim.....


It's a horrid old 'mahogony' mirror that's been lying around the house for years - well, now it's getting a makeover and when completed will be looking a lot more funky to suit a little boy's room.